
A Beginner's Guide To Woodturning - 6 Hand Tools and How to Use Them
Understandably, as a beginner, the thought of taking sharp tools to a rapidly spinning hunk of wood is terrifying! But, the only way to learn is to put on a brave face and get stuck in. To help with getting over the initial anxiety, first you should familiarise yourself with the tools, and what each of them is used for. This knowledge and understanding will certainly make you feel more comfortable with the woodturning process and help get you off to a strong start.
In this article, we’ll cover 6 of the best recommended woodturning tools by professionals, and how to utilise them yourself (with some other handy tips for good measure).
Begin woodturning with a basic kit
We recommend that as a beginner, you start off with a fairly modest woodturning chisel kit. That was you can familiarise yourself with the tools before adding other bits to your tool collection. As a beginner you can almost certainly get the desired results with a basic kit of around five or six tools. Yes, there are plenty of tools out there on the market, and many different grinds, but don’t panic! You don’t have to collect them all. You simply need to learn the ropes, find your style, and then add new bits of kit as you progress through the motions.
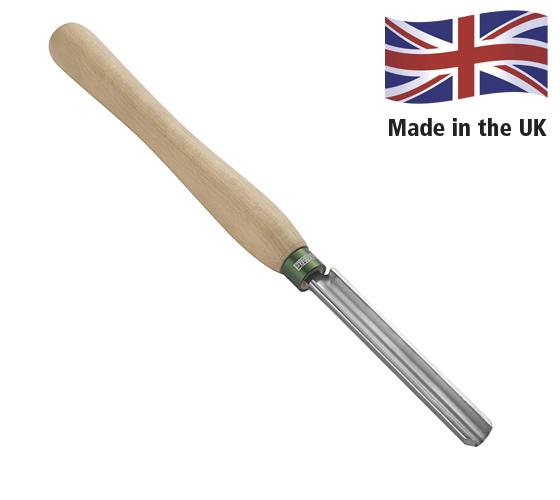
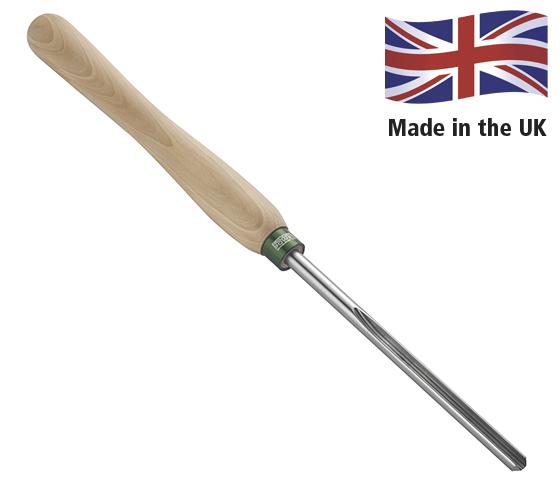
1 - Spindle Roughing Gouge
The spindle roughing gouge is the big one that will shift most of the weight. It can leave you with a decent finish to work with, though it tends to be used more often to create a rough shape. This is the tool of choice when taking a square piece of wood and rounding it off. It is a wide tool and typically has a straight grind.
Pro Tip:
Never use a spindle roughing gouge on a bowl. By doing so you run the risk of breaking it, as the tool has a weak spot going into the handle.
Click image to view product
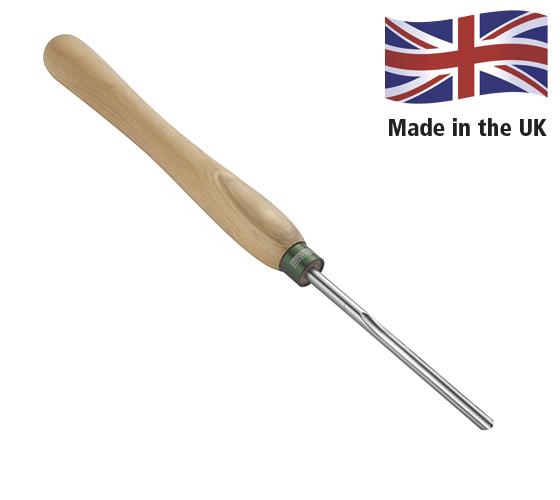
2 - Spindle gouge (or shallow fluted gouge)
This is a brilliant tool that can be used for making details such as beads and coves. It can also be used to shape spindle work almost effortlessly.
Click image to view product
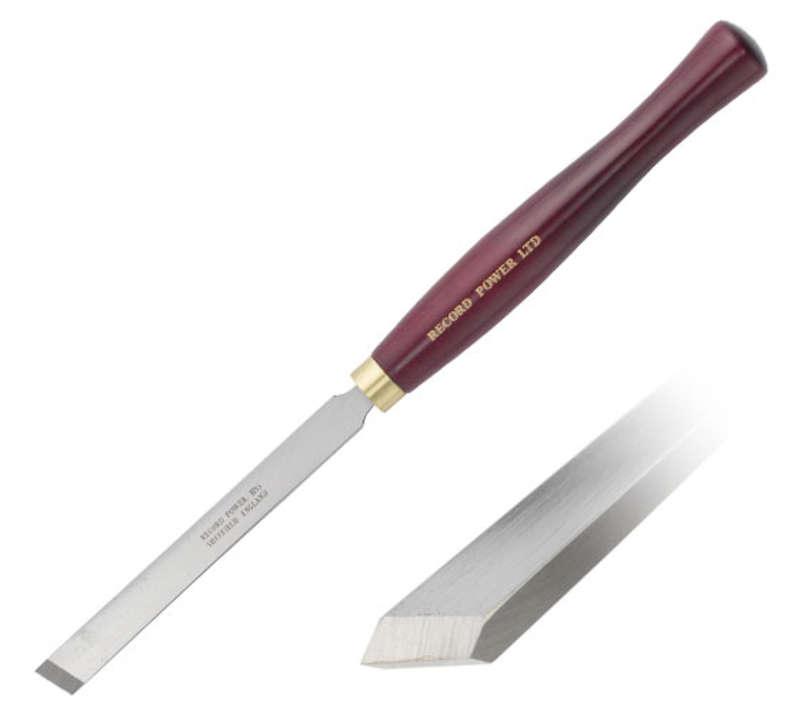
3 - Skew chisel
A skew chisel is typically used for ‘planing’ wood. You can get a gorgeous finish from this tool, with practically no sanding needed. It can also be used to create some incredibly fine details and—depending on how brave you are—it can be utilised for most types of jobs.
The skew chisel has developed a reputation for being rather scary and difficult to use, however, once you are comfortable with using it, it is an irrefutably useful tool to have in your kit. Just give it your full attention when using it to avoid injury or accident.
If you are using the skew chisel to make ‘planing’ cuts, ensure that you use the middle of the blade and avoid using the corners. Catching moving wood with the corner of a skew chisel will make you jump on likely ruin your project.
We appreciate that we have made the skew chisel sound absolutely terrifying, but just like most tools, it simply demands your respect. Use it carefully and practice plenty, you’ll be fine!
4 - Parting tool
A parting tool (as the name suggests) is used for parting wood. When you are working between centres, it is recommended that you don’t part all of the way through your work. Instead you should part the majority of the way and then finish the job off using a saw. Of course, be sure to turn the lathe off before you start using the saw (you’re better off learning from our mistakes).
Click image to view product
5 - Bowl gouge (or deep fluted gouge)
You will notice the channel running down the gouge is significantly deeper than a regular spindle gouge. This tool (again, as the name suggests) is perfectly suited to shaping bowls—both the dish shape and the outer shape—but can also be used for regular spindle work if you like.
Click image to view product
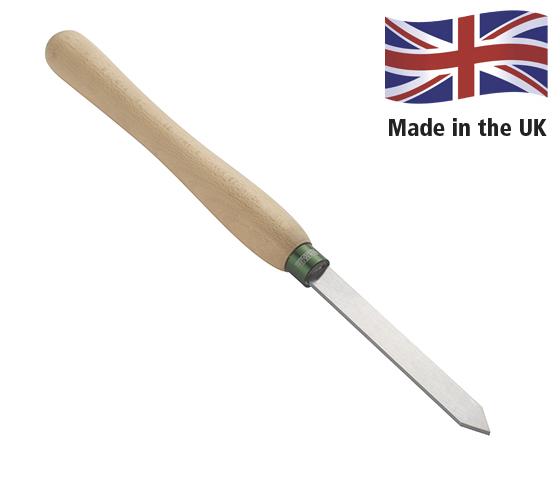
6 - Swept back grind bowl gouge (or fingernail)
This is more or less exactly the same as a regular bowl gouge, only it has a different grind. A standard bowl gouge has a straight grind, whereas a swept back grind bowl gouge tends to have more of a ‘U’ shape, allowing the wings of the tool to be exposed as cutting edges. This differentiation makes the tool highly versatile and allowing you to make a greater range of cuts.
Keep your tools sharp!
One thing that will never let you down when it comes too woodturning, is ensuring that your tools are kept nice and sharp. Sharper tools invariably lead to better results with less frustration on your part.
A wet grinding stone running at a low speed is arguably one of the best methods for sharpening your woodturning tools. Some diamond honing pads are always a great choice when touching up a cutting edge as well!
Conclusion
And there we have a brief introduction to hand-held woodturning tools. Provided you follow these tips; you shouldn’t run into too many problems when getting started with this kit.
It is also important to remember that quality comes at a price. Refrain from buying cheap tools to save money as in the long-run it isn’t going to be worth it. The lower price tag typically means softer metal that won’t keep an edge. After some use, they will start to bend and subsequently hinder your overall performance. If you want quality work, you have to buy quality tools.
In any case, we hope that you have found this article useful and wish you the best of luck with your future projects. Enjoy!


")

